DOWNLOAD
Before doing anything with Arduino, make sure the software is installed on your computer.
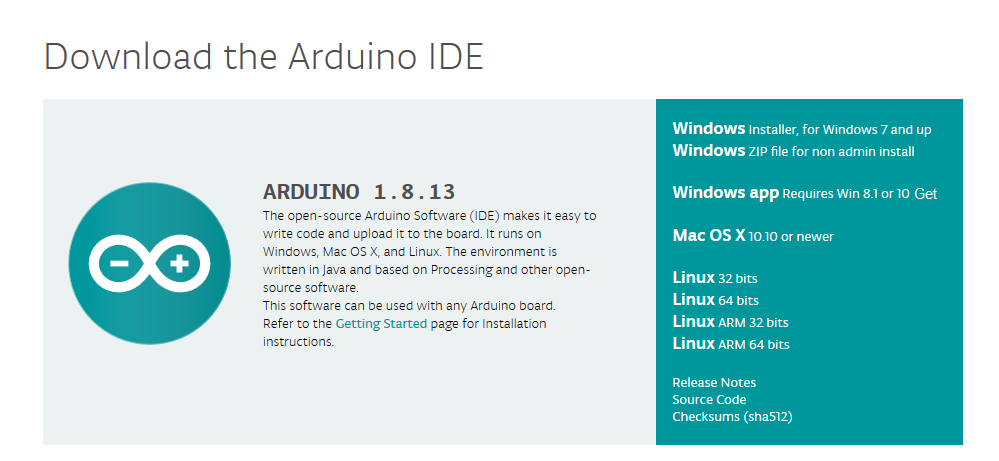
You can download the software on the official website, by clicking here.
Here, select the option that is compatible with your computer.
I have Windows10 operating system, so I can choose from the first 3 options. For the sake of simplicity, I chose the first one.
After that, this page will come in
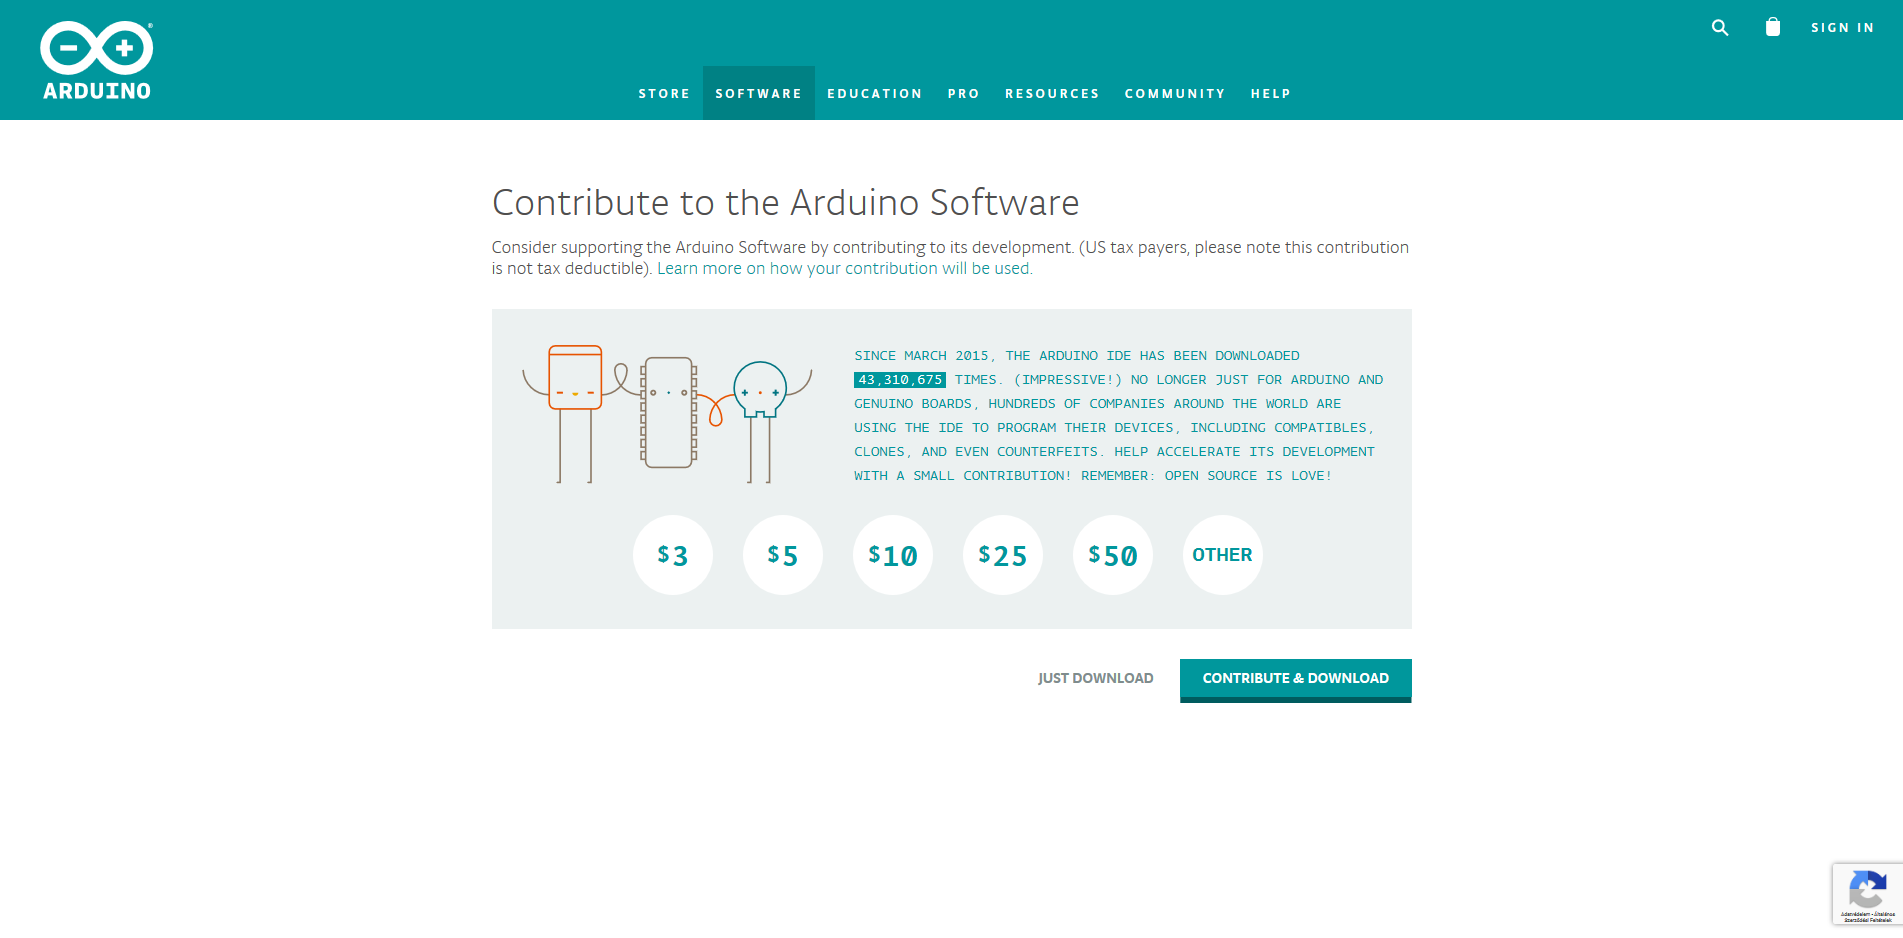
Here, if you want to support the developers of Arduino with money, you can do so by clicking on “CONTRIBUTE&DOWNLOAD“.
If you just want to download it smoothly, you can do so by clicking on “JUST DOWNLOAD“.
After that, one of these will appear
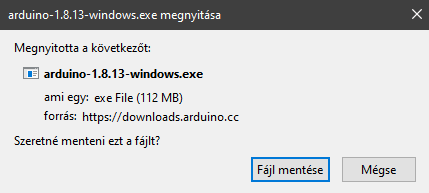
Clicking the “SAVE FILE” button will download the program for us.
INSTALLING
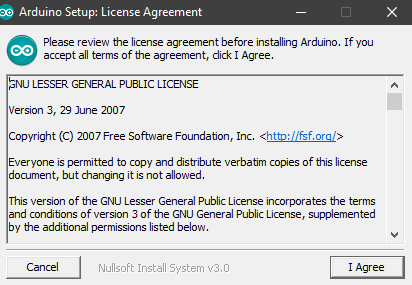
Once you have downloaded the program, you need to open it and install it.
By clicking on the “I AGREE” button here, we accept everything described in the License.
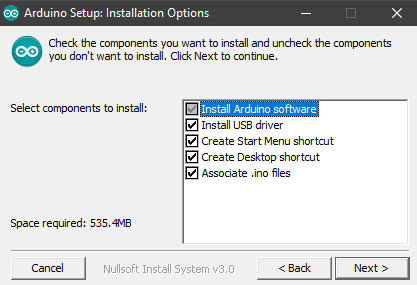
Here we select what we want to install on our computer.
You don’t have to check the two “shortcut” options if you don’t want to put an icon in the Start Menu and Desktop.
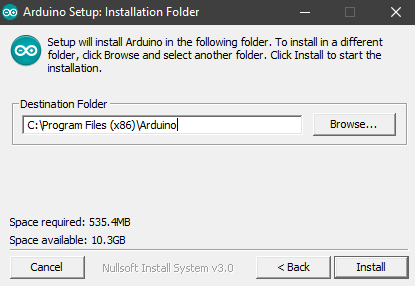
After that, we need to choose the place where the program will be installed.
Since this is not a large program (in storage), leave it in the base installation location, on the “C:” drive
If you have successfully installed a program called “Arduino IDE“, restart your computer.
THE SOFTWARE
After restarting, press the search icon on your computer and enter one of the following:
– ARDUINO
– IDE
– ARDUINO IDE
We need to look for one like this:
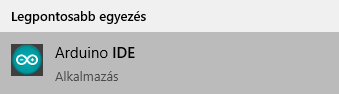
If we find it, start it
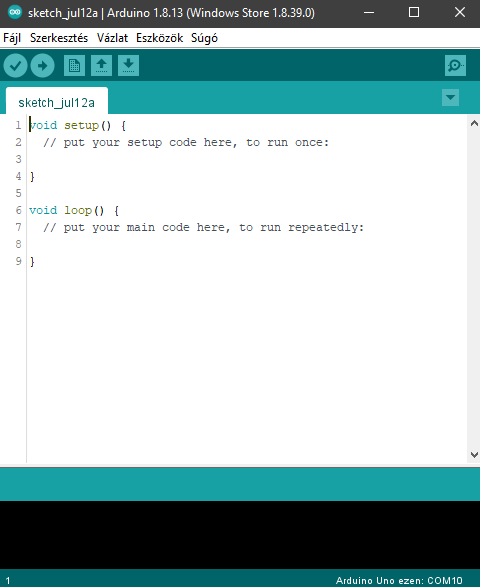
When you start, a similar one should start:

If you set off you should see a similar one.
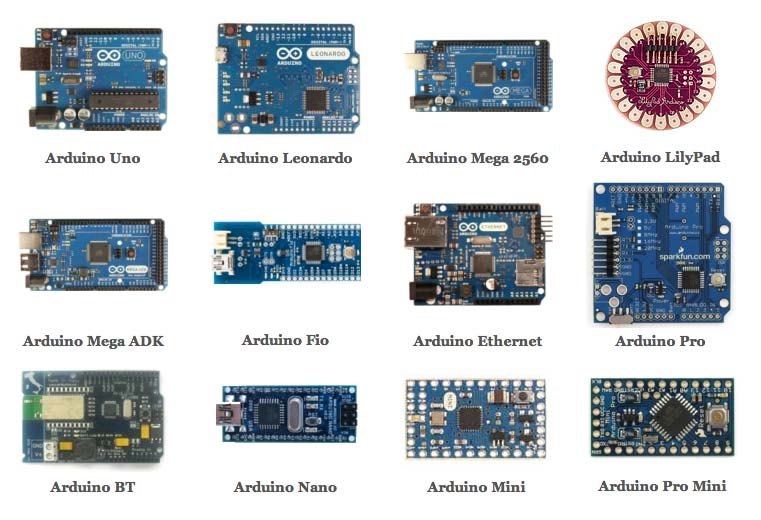
It is important to know what kind of Arduino we have, for which we will want to upload our program.
If we don’t know which one we have, you can see a couple of varieties in this picture.
Now we set up the kind of Arduino.
Click on the “DEVICES” tab.
A similar one should come in:
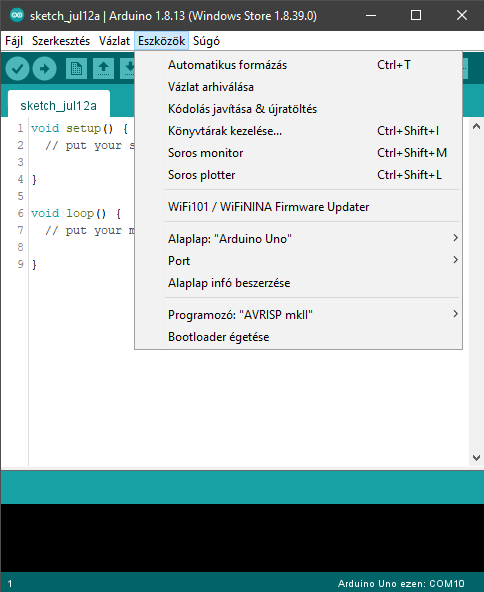
Hover your mouse over the “—–” menu item, this will open that part.
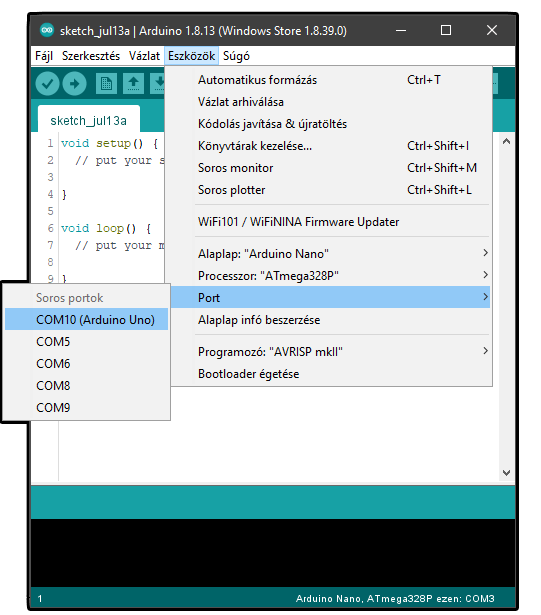
Since I now have UNO connected to the computer on which I will load the program, I have checked it.

Now we need to configure the Port of our Arduino.
Click on the “DEVICES” tab.
Hover your mouse over the “PORT” menu item, this will open that part.
If we might not find our Arduino on the “PORT” tab, we don’t have to worry either, because we’ll most likely find it in Device Manager.
Press the search icon on your computer and enter:
– “DEVICE MANAGER“
We need to look for one like this:

When we open one we need to look for something like this:
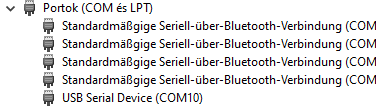
You will probably find Arduinos with this name:
– “USB Serial Device (COMxy)“
“Xy” in this case indicates the port, which in my case is “10” as you can see in the picture. You will probably have something different there because I wrote this way, but it is also possible that this is exactly what you have as a dust.